Creating a Docker Swarm Cluster on Digitalocean

Step 1: Creating the droplet
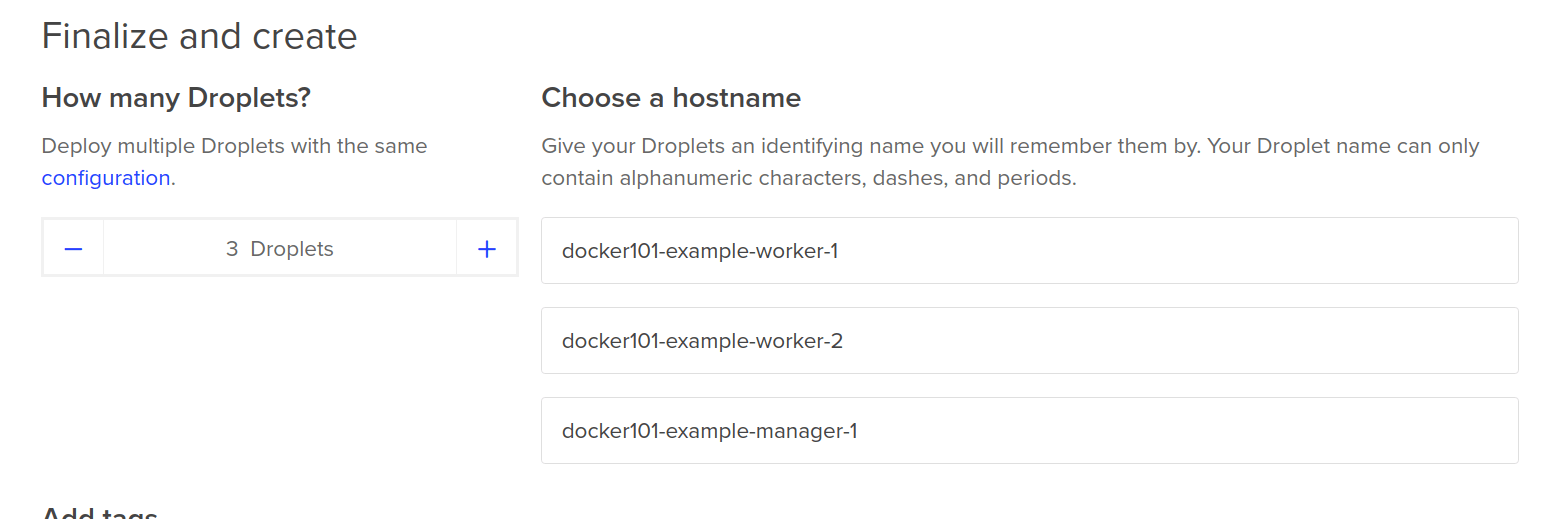
For the sake of example, we’ll create 1 manager node and 2 worker nodes.
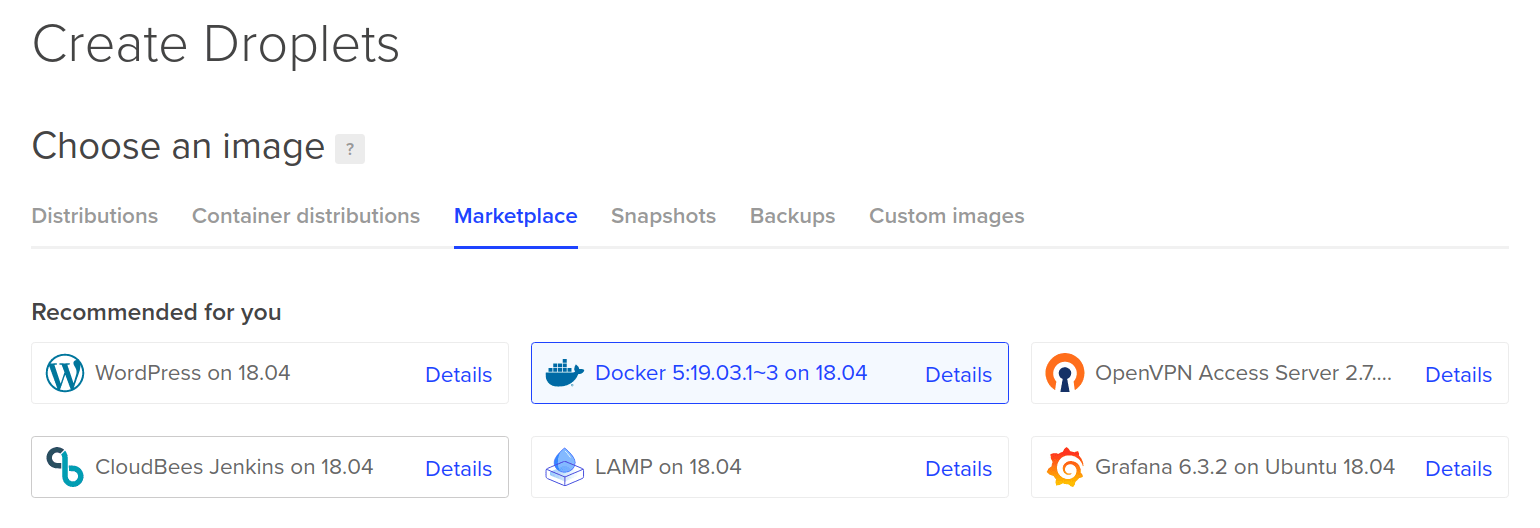
To avoid the need to install Docker after droplet provisioning, we’ll start off with a base image of Ubuntu 18.04 that comes with Docker preinstalled:
We’ll use the lowest priced Droplet class because we don’t really plan on launching big workloads, but in a production environment – naturally, you will need to use bigger machines depending on the needs of your applications.
Now, let’s create the actual manager and workers:
We will assume that you know how to configure an SSH key and how to login into these three droplets. If you don’t, please check the official DigitalOcean guide on how to SSH into a droplet .
Step 2: Initialize the Swarm
Now we need to create the Docker Swarm. This is an action that you should do on a node that you will use as a Manager from now on. In the setup described in the previous step, I will do that in the droplet named “docker101-example-manager-1”.
Note: Remember to substitute the IP for the real IP of the manager node you are in.
docker swarm init --advertise-addr [IP-of-the-manager-droplet]

Make note of the output that this command generates because you will need it later to add the workers.
Let’s make sure our Swarm is indeed running:
docker node ls
You should see an output similar to:
 This represents the active Docker Swarm with just one node for now (the manager itself).
Step 3: Allow connection between Swarm nodes
The OS that we selected (Ubuntu) comes with a built in firewall that blocks traffic on ports that the Docker daemon uses to communicate with Swarm nodes. To avoid this issue, we need to open these ports on all of the nodes that will participate in the Swarm (both workers and managers). It’s a simple set of 4 commands:
  sudo ufw allow 2377
  sudo ufw allow 7946
  sudo ufw allow 7946/udp
  sudo ufw allow 4789/udp
Step 4: Add workers to Swarm
Now it’s time to SSH into the workers and attach them to the Swarm. Take the join command from the previous step and execute it on the workers:

After joining all workers to the Swarm, it’s recommended that you go back to a Manager node and confirm that they are indeed in the Swarm by running docker node ls one more time.
Your Docker Swarm is now active. Congratulations!
But what use do we have of a Swarm that has no applications running? We will do that in the next tutorial. Stay tuned.